I've moved! New blog address.


My new website + blog is emilyneuburger.com.  Please visit me there!

If you have this site bookmarked in a blog reader, you'll want to switch to emilyneuburger.com.

Thanks, and see you in my new space!

xo emily

hanging fruit

Bird seed cookie stars and dehydrated fruit ornaments for our trees both inside and out! Our friends Kelly and Joe visited last weekend and brought with them tree decorations that made our hearts sing.  It is by far one of my favorite holiday gifts we've ever been given and we've been ooo-ing and ahh-ing ever since they drove away. 

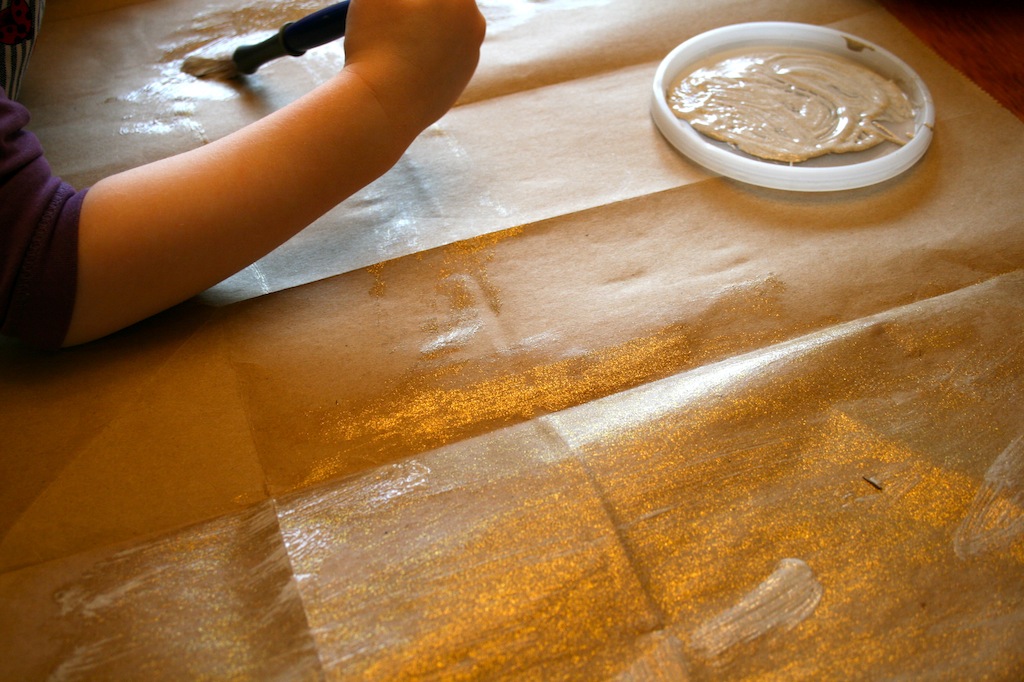
When I unwrapped and opened the box of oranges and pinks, I truly felt as if I was holding a box of natural jewels.  The kiwi feels and looks almost like thin glass, the orange slices are leathery, and the white of the dried pear flesh against the thin layer of its skin is perfection -- as if it was outlined with a steady hand.  Our friends made sure that each ornament hangs on a loop of wool yarn, ready for hanging.  That morning, the children placed some on our (then undecorated) Christmas tree and bundled up to hang the rest on our bare birch and maple.

My favorites: the papayas and oranges
Kelly's favorites: the star fruits and kiwis
Chick's favorite: "If we choose a favorite then Kelly and Joe might feel badly about the ones we didn't choose"
The holiday season can feel like a burst of color and love that comes and goes quickly.  When I watch these little guys swaying and dancing on the branches outside it reminds me of how far that burst of kindness and love can travel.  From Kelly and Joe's home to my eyes to Tom's eyes to our children's eyes to the tree's branches to the wind to the birds' bellies and nests wherever they might be.  It is a gift that spreads joy and love in the truest of ways.  And, I know that after the snow melts and mud season begins, we'll find little bits of Kelly's yarn in our grass, which will make me a tiny bit sad, but mostly happy. 
 
Kelly told me that she sliced her fruit thinly with a mandoline, dried them in her dehydrator, poked little holes in the top, and tied little loops of yarn through.  It would also work to dry them slowly in an oven (on low heat) or next to a wood stove or heater for a day or so.  Don't you feel like dehydrating fruit must be so simple since you always seem to find bits of dehydrated apple and pear under your kitchen table?  Or, is that just me?  Maybe I should sweep a bit more frequently.

I wish you all a happy (almost) winter weekend.

xo e


Sparkly Star Garland


 Sparkly
 Stars
 Shine

This is a super simple garland tutorial that will make your home quietly sparkle.  The glittery package paper seems to be the just-right amount of sparkle for me.  

Materials:
brown paper bag
gold or silver glitter paint (I used FolkArt Extreme Glitter)
star template (hand drawn is fine)
pencil
scissors
mini pompoms
needle
thread
glue

1.  Cut open the paper bag and paint the plain side with the glitter.  I used paint that just added gold glitter rather than paint that was an actual color.  This makes the glitter and color a bit more subtle, but if you are looking for something a bit more punchy, then I think gold paint would be great.  As I mentioned the other day, I was inspired by my friend Catherine's garland and she used gold paint.
It isn't everyday that Mouse gets to paint with glitter.  Fancy pants.

2.  Once it is dry, draw stars on the non-painted side, and then cut them out.
3. Gather pompoms, stars, thread and needle in preparation for stringing.
 
4. Thread the needle with thread (no need for a knot).  First thread a pompom, then a star, then another pompom.......in that order until all are threaded and you've ended with a pompom.
*Notes on threading the stars:  So they won't flip forward, thread a little bit above the center of the star.  Place the needle into the front of the star and then out through the back in order to hide the thread behind the star.

5.  Spread the garland on the floor, glitter side down, and space the stars and pompoms as you'd like them to hang.  Place tape or little dots of glue on the backsides of the stars to keep the thread in place.

We hung ours high over our fireplace and the gold stars shimmers with the light of the fire.  

Our tree is in.
Our stars are in.
Our hearts are still a little bit outside. (the bright sunshine calls to us)

xo e


merry making

Mouse and I made some sparkly, winter decorations today.  
I'll post a tutorial and more photographs on Monday.
A hint:  It involves painting with glitter. 

Happy (almost) winter weekend to you and yours!

xo e

on the wall

Tom and I managed to hang four of my buildings in a row prints the other night.

Hooray, for progress!  (even if there is a big nail hole that needs to be patched and painted)

That, and I've been running and eating more greens and drinking more water.  My work/life balance is officially feeling more comfortable again.  I'm still behind on emails and projects and blog posts, but the behind the scenes stuff feels a bit more settled.

Things that will pop up in this space in the coming days:

1. a holiday garland
2. buildings in a row prints for sale in my shop (I'll make the official announcement here and on Twitter)
3. a glimpse into our homemade gifties
4. photographs of some new pyrex
5. and, a few more little goodies
In the meantime, look at my friend Catherine's holiday garland.  Shiny and sweet, yes? Her use of gold paint has inspired me.

And, check out the nifty new DIY blog Improv Diary, which is the project of my friend Nicole and her book partner Debra.  Their new book is coming this spring and it is filled with the most beautiful, satisfying, uninhibited sewing projects.  More on that later.

Aren't these scarves beautiful?  They are made by my dear friend Ariana's sister.  Love!

There are only 4 weeks left to sign up for the winter session of the  Red Bird Crafts Creativity Workshops. Visit the workshop tab at the top of my site for descriptions and details.

xo e