


Last Thursday, the children in my Creative Journaling workshop experimented with relief block printing. I made the orange kitty for demonstration purposes and plunked her
down in the middle of the table. Once I saw her, I decided that I love her
little head tilt and arched back. I wasn't able to see her personality in the block until it was printed. This is exactly why I think printing is magical.

We used pieces of floor board that were sectioned into 4" x 3" rectangles and sticky back craft foam (found at your local craft store for under a $1/sheet). Since we weren't using craft knives or super sharp manicure scissors, I encouraged everyone to create simple shapes that didn't have lots of nooks and crannies. Rather than being limiting, it was an exercise is simplicity, I think.

They painted the foam with a thin layer of acrylic paint. I encouraged them to try varying amounts of paint to see what worked best for their shape(s).

Then, they pressed firmly with even pressure. And, lifted the block carefully away.

Tree

Boat
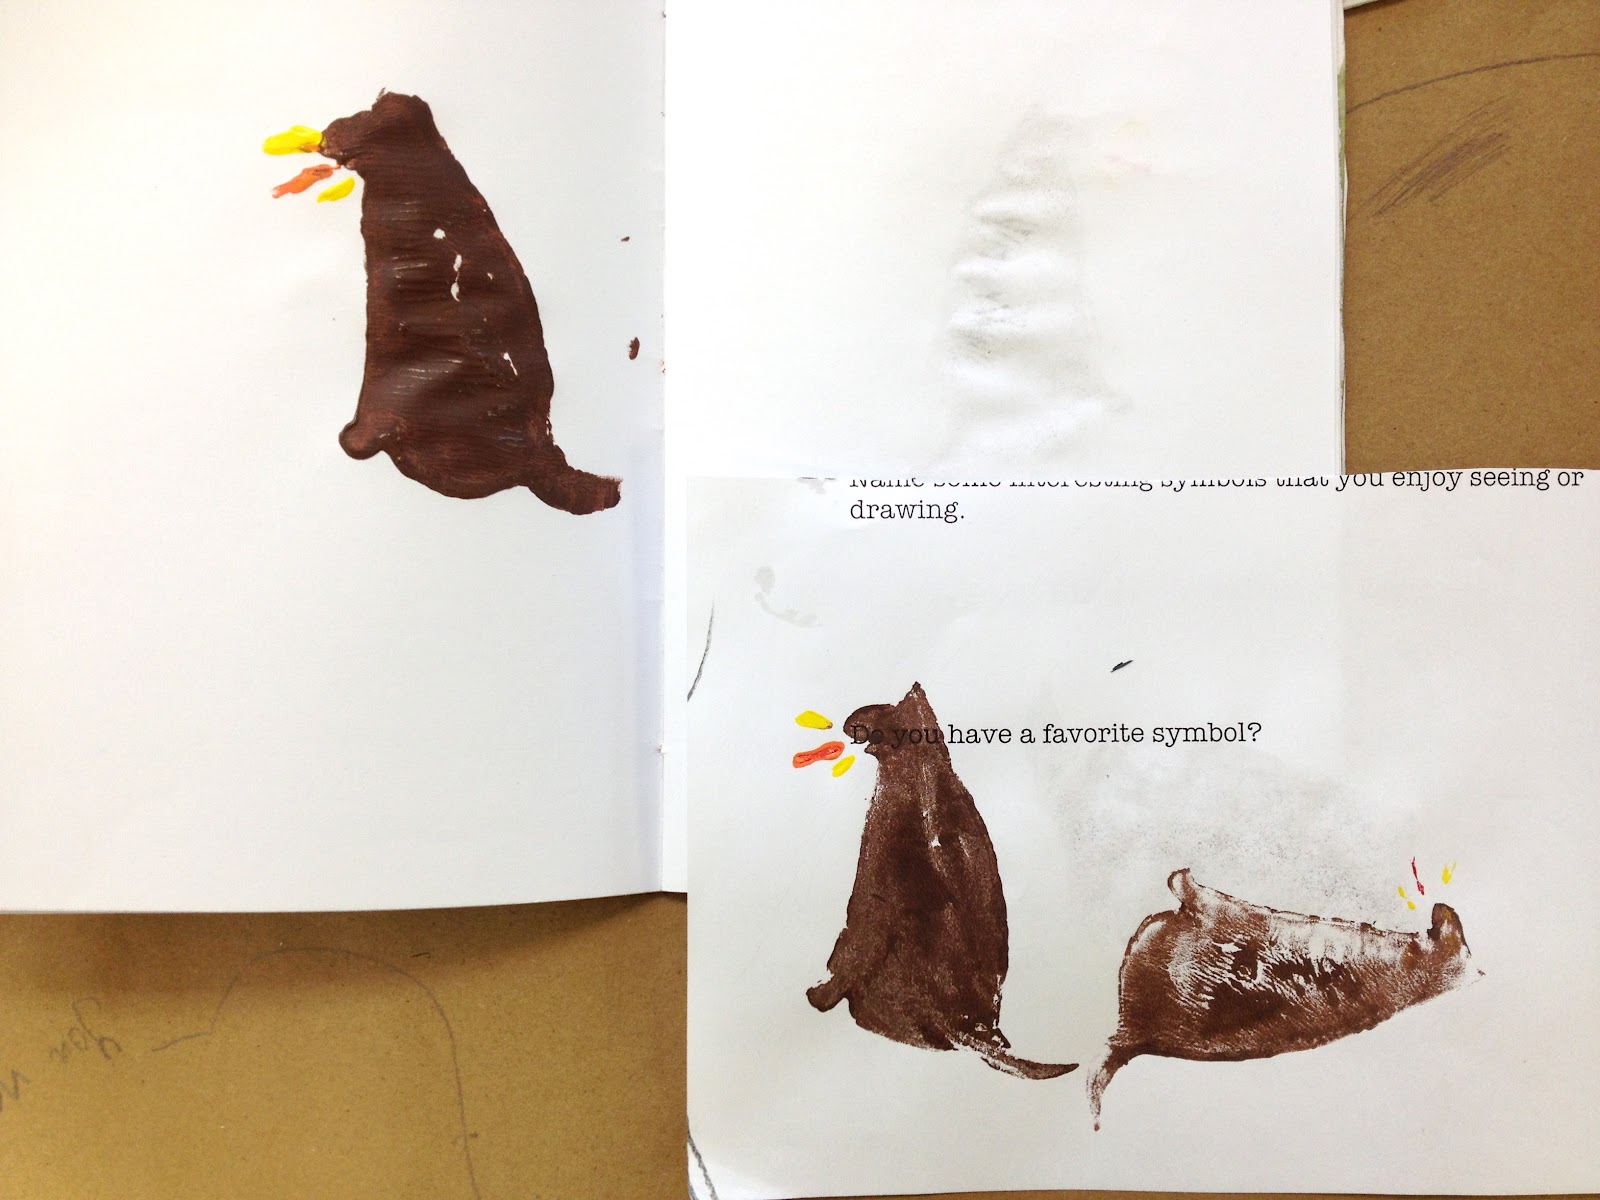
Brown dog (with bark)

Smiley

Spring

Flags

In a brilliant move, they decided to use their prints as autographs, and
made sheets of paper with everyone's print and signature on it. I have
mine hanging in my studio and I love, love, love it.
xo e